
 |
| Blender Render of the proposed artwork |

 |
| Projections onto the cabinet to visualise artwork |
I didn't make any alternative designs as I was content with how it was looking.
You know when you get an idea in your head and can't see past it? You need someone with fresh eyes to offer an alternative solution.
This is exactly what happened during two tutorials I had.
The first tutorial was with Oli Timmins. This is where I'd say what Oli does, but he doesn't categorise himself under any of the types of work such as a designer, printmaker, photographer, painter, illustrator, but classes himself as a 'creative all-rounder'.
 |
| Beetle #1 by Oli-T - from UpFest |
When I spoke with Oli I had the idea of screenprinting directly to the cabinet.
I had been putting off screenprinting due to the logistics of actually doing it - getting a screen that big, printing at the studio where there are no facilities. And of course the challenge of getting a decent print on the side of an already constructed object. It had so much stacked against it to go wrong.
| Skull by Oli-T - from UpFest |
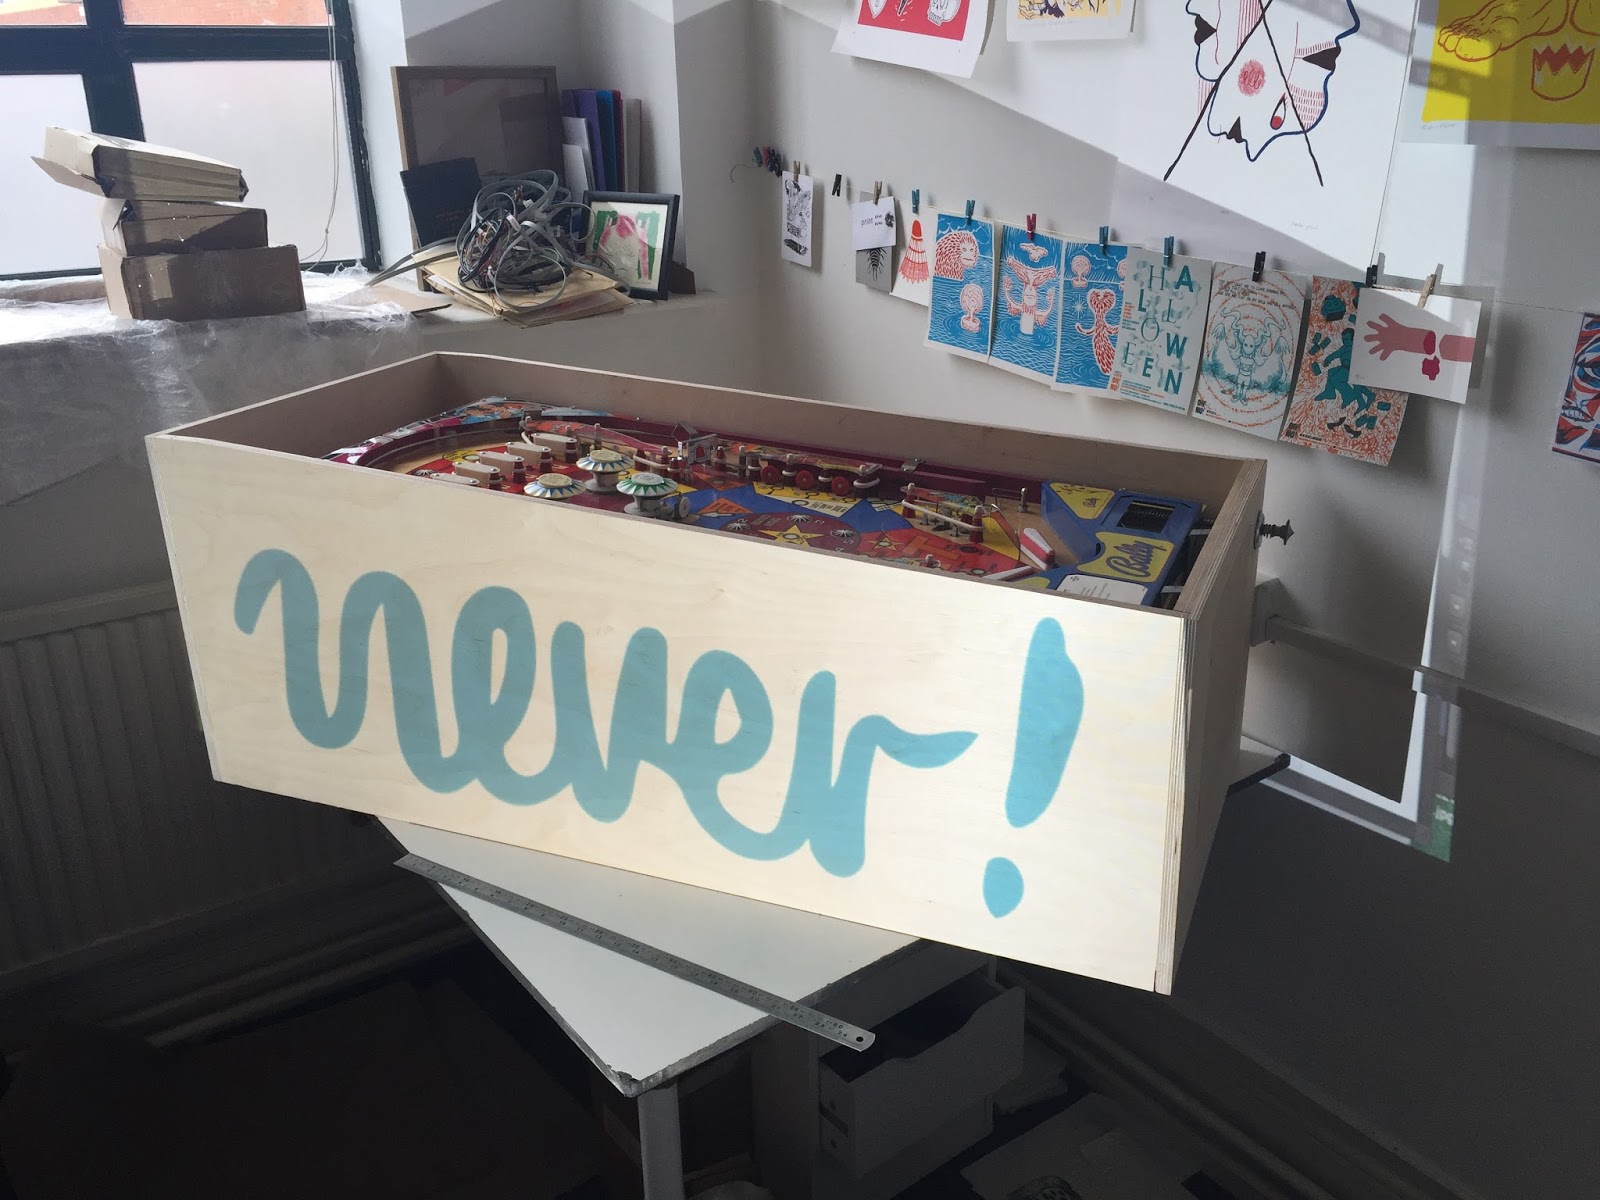
I know it seems obvious, as this is traditionally how artwork was applied to pinball cabinets, I've just never considered using street art/graffiti techniques in my work. I've shied away from it as never been confident to actually try it out myself.
Oli inspired me to go right out and buy a few cans of spray paint to test out the different methods of stencils. I'll go through these in a bit.
The second tutorial was with Otto, a graphic artist and also runs a screenprinting workshop near Bath.
 |
| Spread from Photoshop for Screenprinting book - Otto |
I went into the tutorial with Otto really in desperate need of some guidance and direction with both the cabinet and playfield artwork.

I had made this big mess of a collage on a big piece of paper trying to quickly sketch some of my initial ideas down. The ideas were handmade styles I thought I wanted to include, handmade techniques as a reaction to always working digitally. Otto was confused! He couldn't work out why I was working handmade and focussing on loose abstract styles.
He said I should see the pinball machine like a book.
This could possibly be one of the most important things I could have been told at this point in the project.
It makes so much sense:
The cabinet is the cover of the book
It grabs attention and pulls you in
The playfield is the contents, the story
It takes people on a journey, there is a start, middle and end
He said The art could relate to this idea of a book in a bold graphical way, you have under utelised the potential of the pinball machine canvas. Play into it.
So although coming out of the tutorial knowing how much more work there was to do, I got exactly what I needed to move it on to another level.
More to come... I'll continue the cabinet art into a different post later.
No comments:
Post a Comment