Sunday 29 May 2016

Never: Music for Pinball game

Collaboration with Marshall Brill
https://soundcloud.com/marshallbrill

Marshall is Producer & DJ based in Glasgow, Scotland, with releases on West End Communications & The Exquisite Pain Recordings. We're good friends from teenage years in Shetland and we've played in various bands over the years. He DJ'd at the opening night of The Art of Ping Pong in 2012 curating an excellent set of table tennis inspired music including the awesome Inspector Norse by Todd Terje.

The Cafe Del Marsh EP was released earlier this year, check it out below.
   

Sound is a huge part of pinball and what is so alluring and mesmerising about it: I knew this was something I didn't want to leave to the last minute. 

It's been vital collaborating and asking for help in some aspects of this ambitious project, particularly when the area of expertise is out with my skill-set. So no surprise sound is one of those areas, and has usually been something left as an after thought rather than a planned out element in past projects.

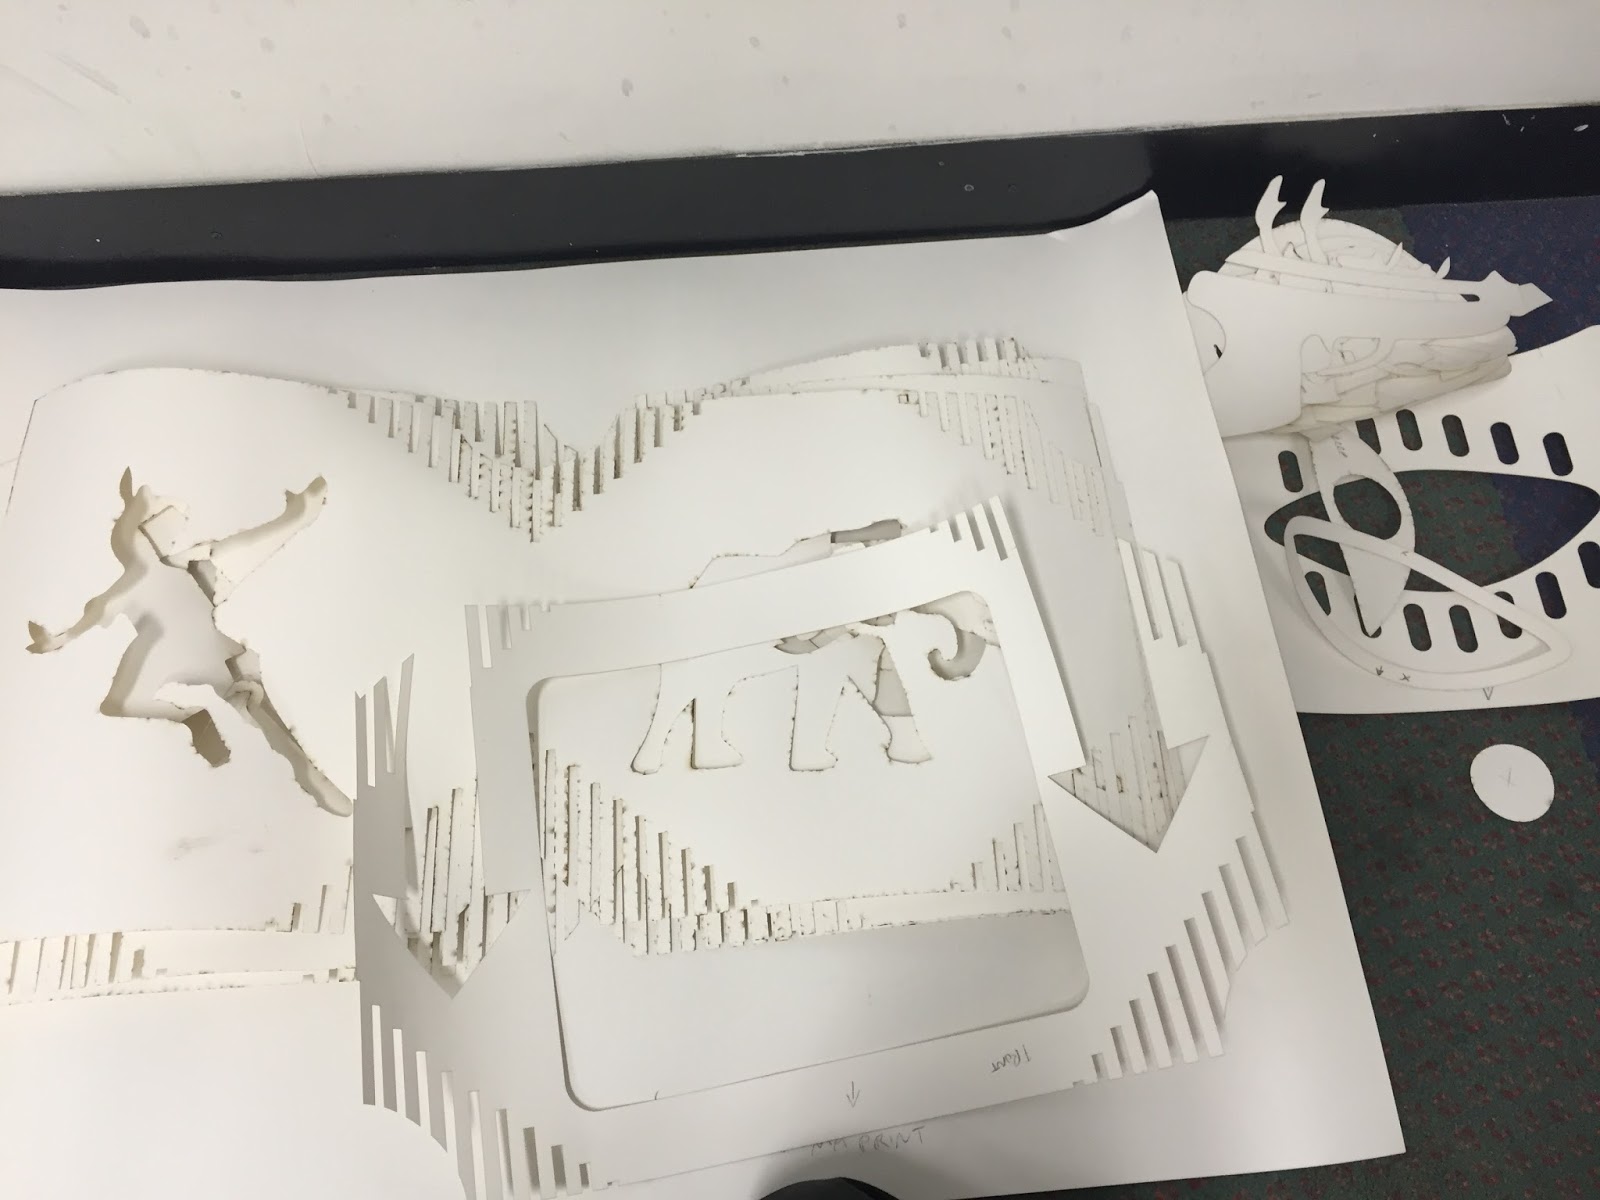
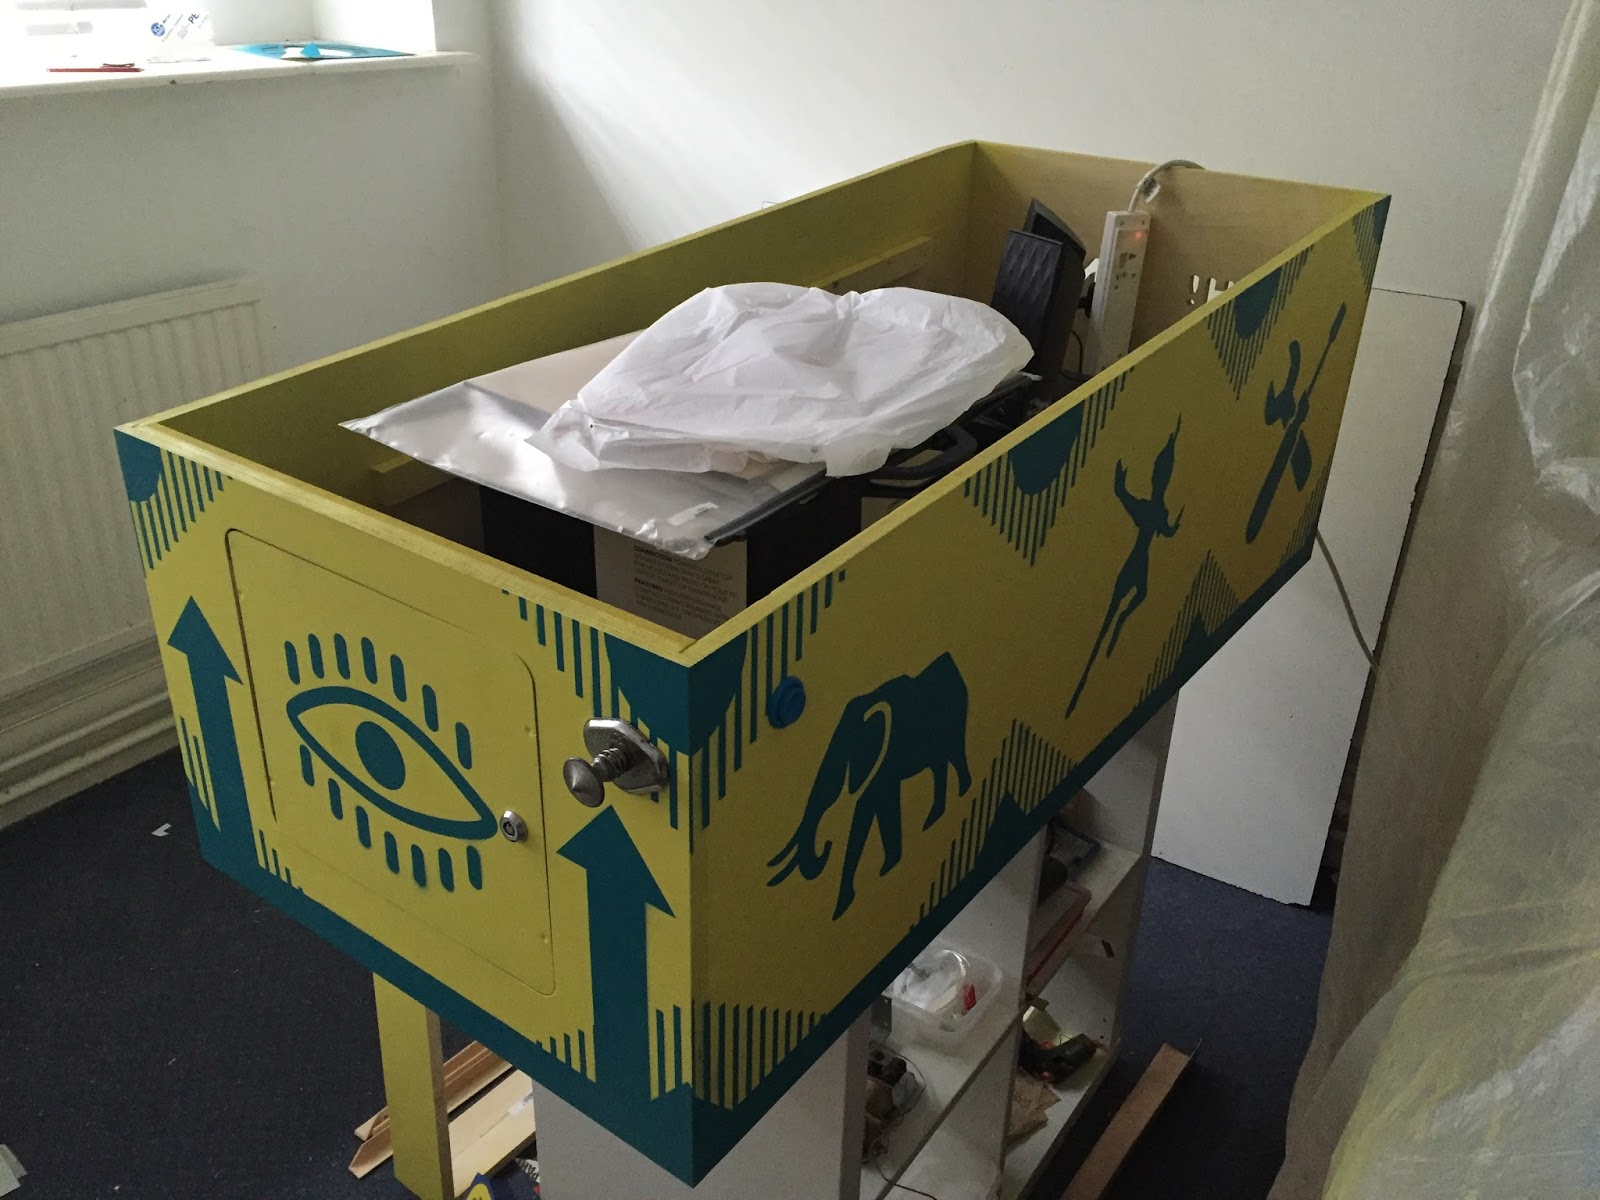
I was behind in finalising documentation about the custom pinball game in order to commission any sounds. Having heard the Cafe Del Marsh EP, particularly the first track Spanish Wine, I knew I wanted to work with Marshall. Leaving as open brief as possible for free reign in the style, with some guidelines for how the sounds could work with the game, visuals of the printed artwork, and some extra pinball inspiration all sent via the Audio Requirements document.

This is the first time I've written a document to pass onto someone to commission music, so there were a few extra technical questions about how the game works (I've since added these to the original document). But this is a learning process, I'm sure I will be able to create a better document faster in future. I always imagine writing types of things as big scary documents, but they are actually really helpful to lay down direction in a project, I tend to get carried away or distracted.


Within hours Marshall had got back to me with a rough sketch. There are a few bars of the four different sections of music which run during the game; Intro, Mode Start, Jackpot, End Ball.

"I thought because of the colours of the pinball machine (bright primary colours), in your face digital sounds might work best. Inspired by the tones in the video of the Greatest Pinball machines of the 90s"

Upon hearing the sketch while standing next to the playfield, I could just feel how things were starting to come together, the sounds really relate to the visual style of the game, bolstering it up as a strong pinball game and artwork.

Although in total delight and excitement about the sketch, I gave a little feedback to help Marshall finalise the music.

A week later I was supplied with a development as well as the final loops to be used in the pinball machine.

The process
Clearly knowing each other has helped the process, I'm not sure approaching someone I didn't know so well would have been such smooth sailing. Although my short time frame may have been quite an ask, I think it shows what can be done in a short time and my belief that a deadline helps move a project on to another level.

Marshall's producing process in a way relates to my own creative making, when there are some days when you can make and tinker for hours and still not be happy with the outcomes.
"Its quite fun working with conditions set, not something i do very often at all very easy to get caught tweaking stuff infinitely and never finishing..."
It's definitely interesting and exciting hearing the response to the game artwork and the brief, seeing how someone approaches the topic from a different creative viewpoint.

We're both interested in the life of the track past the pinball machine. Marshall has plans to continue working on the song to get it to the point of release. I will also use the full track in promo videos I plan to make during degree show.

Formatting Issues
The only issue that has arisen is the format of the audio when installing for use of the MyPinballs Custom Controller. There is a very specific audio format due to the format the boards (running Arduino) can support. It's easy to quickly update using the built in SD card, but not having much knowledge in audio formatting it took me some time to work out a system for conversion.

WAV encoding for the sound files should be:
Sample Rate: 22kHz
Encoding: PCM
Bits Per Sample: 8
Channels: 1 (Mono)

After some working around I figured out a system for converting the supplied audio for use with the control boards. My process for conversion is as follows:
  1. Convert audio from 44 kHz -> 22khz using a generic online audio convertor
    • For this convertor I use settings: 
      • Format: WAV
      • Quality: TAPE
      • Channels: 1
  2. Taking the converted audio into Audacity
    • In Preferences change the default sample rate to 22050 hz
    • Export with settings: 
      • File Type: Other Uncompressed Files
      • Header: WAV (Microsoft)
      • Encoding: Unsigned 8-bit PCM
After this conversion the sounds work perfectly fine, and a quick test of starting a game


Huge thanks to Marshall for helping me out with this project! Please go check out his music on Soundcloud.

Thursday 26 May 2016

Never: Backbox

The backbox was something I had always planned to review at the time of completing the playfield. There was a question if I was going to have one or not, due to tight timescales.

Now that work on playfield assembly is almost completed it is the time to get the backbox done. I really think it is a necessary component, but my design is very simply a lightbox style backbox. At this point it will have no interactivity with the game only as a sign like panel.

I'm doing this alongside some other little bits and pieces that I'm still finishing up on the playfield

Making the Lightbox frame

The backbox is 600x600mm, so I knock up the outter frame with some timber the depth I require
It's simply glued and pinned together, held roughly in place with ratchet straps. It doesn't really need to be perfect.
Giving an idea for my more slimline approach, theres no electronics or mechanisms to be housed in the backbox so it can be a little smaller. I had already designed a flat panel at the top of the cabinet for this size.

It totally transforms the feel of the machine, realise how important the backbox is for the pinball aesthetic

Artwork
The frame is sprayed to match the cabinet, with a handcut stencil this time with simple graphics
I'm using 'L' shaped trim to hide the fixing of the perspex, deciding which colour to go for. Yellow is too weak!
Perspex supplied next day. What a world we live in! Spray painted with a handcut logo. Saving budget and time.
Assembly
The perspex is set in place as the trim is glued on. Nothing too difficult, keeping it simple.

And check it out! Ready to mount in place.
A bog standard 12v LED strip is attached behind the perspex to glow 
Ok a late night of working, this is looking excellent! Notice the cabinet protector/frame made in the same way
Tomorrow the pinball machine gets transported to the degree show space!

Saturday 21 May 2016

Never: Making a Cabinet Stencil

After some much needed direction with the cabinet artwork, I decided to take on advice given and go down the route of stencilling the artwork onto the cabinet.

I've had absolutely no experience in spraying stencil art, so need to do some playing around. Well I did a bit of spray paint application to a drum kit I sanded down way back in 2010 - but still nothing with stencils.

Spray paint testing/playing

Sugar Artists' Acrylic
After some pondering, I opted for Sugar Artists' Acrylic brand of spray paints. I was totally sold on the ethic and the benefits of low smell in my tiny studio space!

As I said, it will be the first time using these types of spray paints, and I notice the difference with the spray caps already, they are not these rubbish ones you get with spray paints from the hardware shop.

Paper - handcut

Paper - lasercut

Acetate - handcut

Masking Tape - handcut

Vinyl - lasercut
I tested this on a scrap of painted wood, to test the adhesive. But forgot to take a photo sorry! It worked fine, like a cross between paper and acetate.

In the meantime I had been finishing the playfield artwork so could visualise in 3D software Blender, how the final may look with a few different developments of the cabinet artwork.

After previous iterations of the design, I moved on from the large logo on the side. Realising that the logo would be quite heavily used throughout the machine anyway.

This was a chance to really highlight the symbols, I want to spark some retro nostalgia of pinball to draw people in, when they get close they will realise that something is a little different than expected.

1. Simple
2. Diamonds / lines
3. Bleed
4. Circles
Taking some inspiration from classic pinball machines I went with a base of yellow and one colour. The simplicity of this sits beside the full colour playfield, but also highlights two of the main colours present.

http://www.torrencecollection.com/gottlieb.html

For reference I started looking at quite a few woodrail pinball machines this era is mainly flipperless bagatelle style in the 1950's which is a lot earlier than the styles I was mainly focussing on of 70s/80s pinball. There is something much more craft like about these wood rails, and I really like that over the hard chrome metal edges or plastic aesthetic of more modern machines.

I asked opinions of different people, which option from the four above they preferred, and although a real mixed bag of opinions I knew they diamonds/lines version was the right choice, keeping these references to classic pinball.

Making the Stencil
After my tests, I came to the conclusion that there was no need to over engineer the stencils. Sticking with paper was the best option all round, proving the most successful results.


Lasercut paper stencils - another bonus is they are easily transportable
However the question of handcutting vs lasercutting was a no brainer at this stage. I was not going to be able to pull off handcutting to any great level. The issue is really translating the large design onto the material to be cut so I opted for the precision of lasercut again. Not only does it give me pin point accurate results quickly, it corresponds to the lasercut playfiield, tying everything nicely together.

Applying the stencil

Learning from advice given during a tutorial with Oli Timmins, I used repositionable spray tack on the back of the stencil to keep it in place and as tight to the cabinet as possible to keep the underspray/blowout around the edges to a minimum. Although I quite like some!


Couldn't be happier with how things are coming together, just wish there was slightly more hours in the day. Lots of all nighters this week! Need sleep please.

Thursday 19 May 2016

Never: Power Up


First power up and progress of 'Never!' pinball machine. Huge moment in the last few weeks of the project.

The assembly is just about complete, still a few parts to add over the next few days.

The parts and layout are 'borrowed' from a Bally Supersonic playfield, and controlled by MyPinballs Custom Pinball Controller.

Also my first attempt at a vlog!

More progress coming soon. Please comment or tweet @jonosandilands for more info.

Friday 13 May 2016

Fresh Press Printmaking Symposium - Slides


Presentation from Fresh Press Printmaking Symposium Thursday 12th May at UWE, Bristol. Professional practice.

Notes, ramblings below:

1 Intro
Thanks to Aoife
Day to day work
What I do
Professional Practice
Quick look at
work in progress

2 Shetland Arts
Connected
Mareel
Events


3 Freelance
Word of mouth
Small business
Artworking
Divide
Physical print

4 Creative Relief
Printmaking
Art of Ping Pong
Interactive
Ball tracked

5 Art of Ping Pong
Creates artwork
Players can print
Kept as visual record
Continuation to Pinball

6 Pinball
Example of Printmaking
½ Mile wire
More man hours
I like ambitious projects


7 Research
Play
Leagues
Online
100 Machines
4175th World
117th UK
Learnt the game
But didn’t know the workings

8 Proposal
Highlighted companies I could work alongside, aimed high
So many ways to approach
Introduced from friends and online
Proposal clearer
A little cv
Examples
Statement
Timescale
What I will do
 … do for them
..  I need from them

Not a big scary document

Looks professional
Good practice

9 My Pinballs
Jim Askey Leeds
3 Days
Mechanisms
Electronics
Software
Taught complex machines can be broken down - simple
Currently assembling my own, and I think back to this
Built confidence and taught

Kept in touch
Pinball Controller Sponsor

10 Heighway
Only Uk
Getting ready to release first pinball
Sum up the time: parts
Shipments daily
Sort
Most rewarding Assembling machines that were being shipped to USA
Overview of the company

11 Reflection
Weekly visits included a 2 hr journey
Time to stop and think
Develop ideas
Quick easily executable  
Sketches went on to inform new work

12 Digital Prints
4 colour print
Section removed
Screen embedded
Loops gameplay footage
Transforms the print to another world

13 State of Play
How it started
Commissions
Exhibitions
Lost print

14 Never Studio
Final stages
Big project
Pieces come together


15 Never Playfield


Look forward to questions

Never: Assembly


Ok thats it done, really quick and easy!

Pfffff. If only it were that easy. Ha ha ha ha ha (manic laughing)

The whole driving force of this project was using an existing pinball machine playfield as a donor game (see the parts plan). The idea, saving time developing a layout and sourcing parts

As all the parts are in place on a wiring loom, the concept is to detach from the original playfield and simply slide across onto the new one.

I knew it was going to be a difficult job, but I underestimated the amount of labor required, a full weeks work from last Thursday till just today!


At the start I took hundreds of photos of the playfield, if I had any accidents or confusion about how parts were assembled, I could reference back. Thankfully due to having studied the playfield closely I didn't need to refer to any of the photos, but it was certainly standard practice, and more so if you are doing over a longer period of time than I was.

The process of dissembling the old playfield started with what was perhaps the toughest part last Thursday night. Undoing the staples which held the General Illumination braiding in place. There's really only two ways to remove the staples, prising out with a flat object like a flat screwdriver or snipping with some heavy wire snips (as I found out as my flimsy snippers snapped!). The staples are quite heavy duty so this does take some time, and I damage quite a lot of the braid in my haste. As well as hurting my hands quite badly, but no body cares about my health right!?


Once the braid had been mostly loosened, I could start to make my way through removing all the screws holding the fittings in place.

It is pretty overwhelming, at times I ask myself if I made the right choice using a donor game rather than starting from scratch.

I can't really stress enough how important it is to keep everything well organised when removing parts. Having the photos to refer to is handy, but just having a separate box for each type of part makes life easier at the other side.

I find it funny to think that this was assembled in the 70s, I bet no one thought about what would be happening to it in 2016.

The next bit was setting the playfields side by side, and use a piece of cardboard to help slide the wiring loom and parts over onto the new playfield.


This video make it sound like the studio is next to a racetrack, which I find humorous so left the sound on! Hopefully it provides some amusement amongst these dry posts.

Lessons

  • Some of the problems I had came down to simply not having good quality tools, if I were doing more with pinball in future, I would start to invest in the proper tools. 
  • It really needs more time to be done correctly, it could have been a less strenuous more relaxing process if there wasn't such a deadline

Wednesday 11 May 2016

Never: Audio requirements

This document is also available view/download as a Google Doc here.
The intention was to learn a bit more about writing game development documents, it was originally sent directly to Marshall Brill who composed the background music.
Custom pinball by Jono Sandilands

Sound
Sound is a huge part of pinball and what is so alluring and mesmerising about it. My aim with the whole machine is to have references to classic pinball machines while showing my own style and creativity. My theme is a bit unconventional to commercial pinball machines (which are usually movie, tv, music or other licensed theme). See the Game Mode Outline for more on this.


Find more images of the playfield art here to get a feel.

I’m looking for four original music loops for different aspects of the game. There is also a list of sound effects which I am planning to source from a free music library (due to time and money constraints), these are listed and should give a feel for the rest of the game.

Inspiration
Some of these more harsh mechanical sounds will already be part of the machine, but the bells are not so I’m open to using iterations of classic sounds people are familiar with digitally.

Vintage Pinball Machine (130 tracks about 1s each - Audio)
Someone has sampled all the little clicks and bell sounds and uploaded in separate tracks on SoundCloud. These sounds are from a 1970s style pinball machine, the era my machine is based on.

Sounds from more modern pinball machines in the 90s

The beautiful whimsical sound effects and music, plays into what I’m getting at a little bit.

Also things like Wintergarden’s marble machine and music

Sounds Needed
Effects
  1. Clock Tick (Never A Better Time Mode start/collect) old fashioned clock tick
  2. Clock Alarm (Never A Better Time Jackpot) Fast ‘excited’ alarm - old fashioned
  3. Screw (Never A Quick Fix Mode start/collect) hand ratchet style
  4. Drill (Never A Quick Fix) Fast ‘excited’ drill
  5. Weather thunder (Never A Dull Day Mode start/collect) Storm a brewin’
  6. Weather sunshine (Never A Dull Day Jackpot) Cartoon style rays xylophone?
  7. Elephant (Never Forget Mode start/collect) Elephant trumpet once
  8. Elephant (Never Forget Jackpot) Elephant trumpet lots
  9. Gun (Never Say Never Mode start/collect) loading x (quantity bullets in a pistol?)
  10. Gun (Never Say Never Jackpot) gunshots x (quantity bullets in a pistol?)
  11. Kiss (Never Been Kissed) smooch
  12. Woosh (Neverland collect)
  13. Spinner (Never Look Back) spinner sound?
  14. Burning (Never Put Your Hand in the Toaster target down) burn toast/ campfire?
  15. Toaster Down/load (Never Put Your Hand in the Toaster all targets down)
  16. Toaster Pop (Never Put Your Hand in the Toaster jackpot target)
  17. Positive target hit
  18. Negative target hit
  19. Bonus counter

Music Needed
  1. Start (Ball Launch) loop upbeat subtle … anticipation… patiently waiting to start (length 1m-2m)
  2. Mode Start loop kinda frantic, panic, uneasy. Could lose anytime. (length 1m-2m)
  3. Mode Completion / Jackpot shorter fanfare (for want of a better word) crescendo (length 20s-30s)
  4. End (Ball Drain) loop sad? :( your ball and/or game ended (length 30s-1m)
I’d like the four pieces of music to have a similar feel, but also lift and enhance the different game modes to help immerse the player into the game more. I’m happy to use your style as I think your tracks fit really well with what I’m thinking, would be great to take into consideration some of the inspiration above, particularly vintage pinball somehow.

How gameplay works with music
On starting a game it will play the intro track until a mode is started by hitting a target. Generally during a game it will mostly play #2 and switch between that and #1 depending if a mode is activated. The other two pieces would be heard less often unless the player is very bad or very good.
At this point if a target is hit to start a mode it will interrupt the current track. However if a current track is already playing and another mode is started  it won’t be re-triggered. I think there will be the possibility to programme more seamless syncing of the music (ie to let the track finish before starting new track).

One approach could be to see the 4 pieces together as one complete track (which could be released? And used in promo videos), conceptually the track on it’s own takes you on the journey of playing pinball. Technically each section still needs to be seperate and loopable for the sake of the game controller.

Format
To be compatible with the MyPinballs controller I am using, the sounds need to be in a particular format and encoding.

WAV encoding for the sound files should be: 
Sample Rate: 22kHz
Encoding: PCM
Bits Per Sample: 8
Channels: 1 (Mono)

Please ask if you would like the sample game sounds supplied.

Timescale
There is literally none, this is my own fault and just the way the project has ended up unfortunately.

Ideal first draft of music: 19/20 May
Setup show: from 23 May
My final show opening night: 3 June

There is the argument for using the show as a test of sounds - and revisiting afterwards.