Recently I was asked to visualise "Hot Topic Taxi", a segment featured on BBC Radio Shetland's monthly programme, Sideways, a sideways look at Arts & Culture in Shetland hosted by Mark Inchley. The animation will be used on Facebook/Youtube etc to 'visualise' this part of the show online.
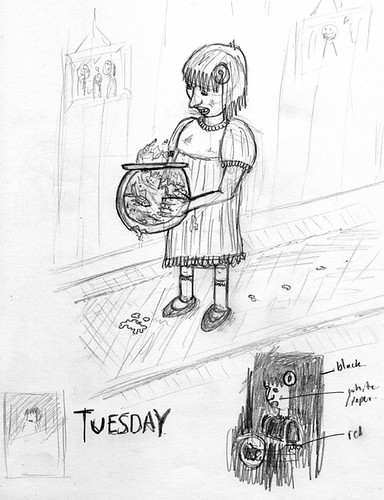
Mark originally came to me with the idea to have a static drawing of two people in a taxi (see sketch of idea by Mark below) with the area in black in the back window transparent with a video of a road moving in the background.

After a bit of brainstorming over the idea - I proposed an idea, and a challenge for myself to work within a tight budget to produce something more usable and dynamic than the original brief of a static image.
The challenge I set was to produce 3 or 4 very short animations (around 5 seconds long each). They would be of a very rough quality, which I supply for the Sideways guys to cut together themselves using some sort of movie software.
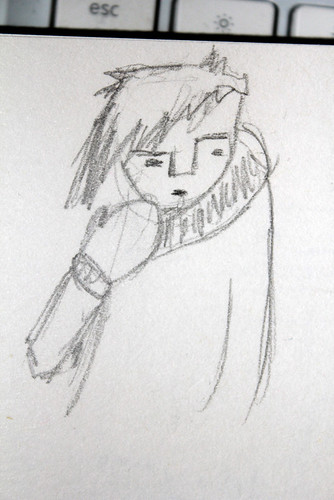
I had a listen to the audio and started quickly sketching out what I thought the characters, taxi and setting looked like. Once I had an idea for what I wanted them to look like the final elements were roughly drawn with a soft pencil then scanned and saved each element as a separate transparent file.

I used Adobe After Effects to create a really basic set of the flat layers with a camera positioned in front of the placed elements to create the look of a 3D world with elements moving at different speeds to create a depth of field. View from right of the placed camera in After Effects.

Next to make the action - the backgrounds were set to move using two keyframes for start position end position. The characters and car were set to wiggle randomly to look as if driving in a real car. The mouths only had to loop a basic speaking pattern and this was quite quickly done by making a photoshop file with the 4 different mouth positions required.

In After Effects I trigger which layer should be visible at a given time using time remapping. I type "0" for what is called "layer 2" above, "1" for "Layer 3" and so on. I looped a segment of the mouth movement and used the same mouth for both characters.
I like to use this project as an example of what you can do working to a budget.