Tuesday, 18 August 2015

Getting started with Wordpress Theme Customisation


I've been asked a few times by friends starting a small business, for information about getting started with Wordpress Theme Customisation as well as sorting out a domain and hosting. I thought I'd share some of the resources that will get you up and running.

You may be interested in the services I offer, which are perfect for startups, small businesses, organisations & charities.

It's an ongoing list, please feel free to share any additions.

Learning Code
You'll use HTML, CSS and PHP code with Wordpress. Don't worry, you will learn as you work with it, but you need to know the basics:
Codecademy
A free interactive website to learn to code


Treehouse
Much better code learning site, subscription.
Specifically, How To Build a Wordpress Theme track could be spot on for you.


Five Best Text Editors
You have many choices for code editors, my favorite is Sublime Text.

Wordpress

Documentation
I use this almost everyday. For a beginner it's also good for learning the terminology so you can YouTube for tutorials etc.

Theme Customisation: A Beginner’s Guide to Customizing a WordPress Site
Great place to start for finding out where to start with themes - google/youtube to learn more.


Theme Customisation: How to customize a Wordpress theme
A comprehensive guide.


Theme Customisation: Customize any Wordpress Theme
Sometimes it's better to watch someone demonstrate - loads of tutorials on YouTube - go search!

Child theme: How to create a child theme
If you use an existing theme (free or paid) make a child theme to make edits.

Premium themes: Elegant Themes
I have a subscription to Elegant Themes, check out their theme Divi, one of the best adaptable themes I've found.

Hosting/server
123-reg
For domains and web hosting I usually suggest to get the Business Package from 123-reg.co.uk. There is also great options from TSO Host. Please shop around. Make sure you meet the Wordpress Requirements.

Uploading with FTP

Where to find your FTP username/password (123-reg)

-
After that really, Google is your friend :)

Good luck, any questions comment or email.

You may be interested in the services I offer, which are perfect for startups, small businesses, organisations & charities.

Thursday, 6 August 2015

Bells Project - Progress 2

I introduced the project in my last post with my initial progress, in this post I will summarise my development and the changes I've made since.
Campanology exhibition poster. Design: Rosie Carmichael 
Campanology
4-11 August 2015
North Cabin, The Control Room, Redcliffe Bridge, Bristol


Five artists from across a multitude of disciplines all participating in this collaborative installation for one week. When the bells of St Mary Redcliffe chime, the piece will come to life.

Artists
Charlotte Biszweski, Aoife Barret, Lorna Sylvester, Naomi Greeves, Jono Sandilands.

Facebook event

Progress
Power & Motor
The motor I originally had my eye on was a stepper motor, the idea being that I could control the motor a bit more via Arduino, but in the hope to keep things really simple I opted for a straight forward 12v motor. So it would just simply be powered directly from a power adapter to run.
12v 14RPM motor from Amazon 
Really there's no real opportunity to test it properly until everything else comes together so I'm hoping it's all good!

The lift
Initially I prototyped a marble pump mechanism for lifting the ballbearings. It worked quite well with a drill, but when attached to my new motor, it was a bit much and was overloading... not surprisingly it's quite a clunky beast!

Introducing: Marble lifter v2
So a simpler mechanism is required, it would be better to have only one moving part. Here's what I came up with with a bit of research and a very quick turn around on some last minute laster cutting, thanks to my neighbour at my studio in Deben House.

It works quite well don't you think!?

The tower
I figured the best way to build the tower (to allow the marbles travel vertically to the top of the track) was to drill holes in smaller blocks of timber. In my studio I don't have many tools, just a few hand tools and a drill, I wanted to make use of my very basic setup to see what I can do.

Each block is 4-5cm, hand sawn + drilled. They are locked together with dowel plugs.
Starting ambitious I wanted to have 50 ballbearings in the run and be 20 blocks high, that would make the tower stand around a meter tall. When I finally got the new mechanism and motor hooked up, I realised I was going to have to cut back quite considerably as the motor didn't have enough torque to handle that lift.

Carved and ink blocks (left), printed on paper

I have also carved each block so when they are stacked together they create an abstract and simplified likeness to the architecture of St Mary Redcliffe's bell tower. The blocks have been used to make prints.

Building Frames
The exhibition is an installation, Charlotte who is organising it has been planning conceptually to have the pieces displayed in three dimensional frames. They act as a holder and a frame for each of the works, and also takes advantage of the space making it more visually appealing to someone walking by. Along with Naomi & Aoife, I offered my help for building frames and after a few days of planning, deconstructing pallets, testing, panic buying timber, building, failing... we eventually worked it out...

Breaking up pallets - is hard work!

Frame building pictures are a mix of Charlotte and Naomi, sorry guys I stole!

Final push
It was really difficult last few weeks, with a really close friend passing away. Working on this project during that time really helped me get through the lead up to the funeral. I have read about creativity being a positive and therapeutic outlet during the grieving. I've never really been sure how to deal with the death of someone close to me, but this has possibly been a step to finding my own way. I'd like to know more so if anyone has any links to articles or personal experiences to share, please do.

It also meant I needed to work extra hard in order to get finished up so I could walk away knowing I had created the best possible outcome. Some of my extravagant plans for the wire track had to be abandoned and simplified, I made an oversight in how hard it is to form wire, especially with very limited tools.


Sometimes working out the simplest route to take in a project pays off. I'm yet to process my final thoughts on the outcome, as I've only seen it working twice! Tonight is the first preview and it will be switched on for over an hour, I have no idea if it will hold up! A bit nerve-racking!

Update
So the motor failed on opening night! Pretty embarrassing but it was semi expected. Not enough time to test and not enough money to buy a good motor in the first place. We live and learn.

The good thing is that it did work; the motor is just not strong enough for the load of the heavy ballbearings so after a while it just stalled. I went in a few times to restart it but it inevitably failed within a few minutes... so I had no choice but to switch off, it was really disappointing. Like I said I had kinda seen it coming, but with other things on my mind, I really just wanted and needed it to work and all be ok.

I couldn't sleep that night, which seems silly now, but at the time it felt like I had to get this working as soon as possible. If I didn't get the new motor ordered asap I wouldn't get delivered until the day the exhibition closed. Searching for hours online and trying to calculate the best motor to get for the specs I went around in circles from eBay to Maplin with no luck and no guarantee of delivery time.

I am of the belief (not a religious one) that things do work out, or fall into place. I was once told this is if you want something bad enough you will get it - through work.

So slotting right into that motto, I eventually found an amazing supplier of electronic and mechanical components to the hobbyist + education called Makertronics.


The site has the best selection of motors I've found, and lots of other electronics and parts that will be useful in future, so sure they'll come in handy again! They had the perfect motor at 15rpm and high torque - the motors are actually drill motors. I ordered at 5am Friday and I received on Saturday lunch time. Pretty cool.

It took a bit of time to retro fit into my piece as the motor shaft was a different size, but eventually it all worked out!

We're working on a video of the exhibition.

Thursday, 9 July 2015

Bells project - intro & progress

MA Printmaking friend Charlotte Biszweski is organising a collaborative exhibition and asked me to create a kinetic piece to be part of it, inspired by the ringing of bells at St Mary Redcliffe church in Bristol.

Campanology exhibition poster. Design: Rosie Carmichael

Campanology

4-11 August 2015
North Cabin, The Control Room, Redcliffe Bridge, Bristol
Five artists from across a multitude of disciplines all participating in this collaborative installation for one week. When the bells of St Mary Redcliffe chime, the piece will come to life.

Artists
Charlotte Biszweski, Aoife Barret, Lorna Sylvester, Naomi Greeves, Jono Sandilands.

Facebook event

Progress

Research & Concept

As soon as Charlotte told me about the project I knew I wanted to be involved. I had a really vague idea using some of the left over ball bearings from my recent pinball inspired Ball Saver piece.

I did a little bit of online research into St Mary's, they have a really good section on their website specifically about the bells, including ringing times and this document about how the bells are rung.

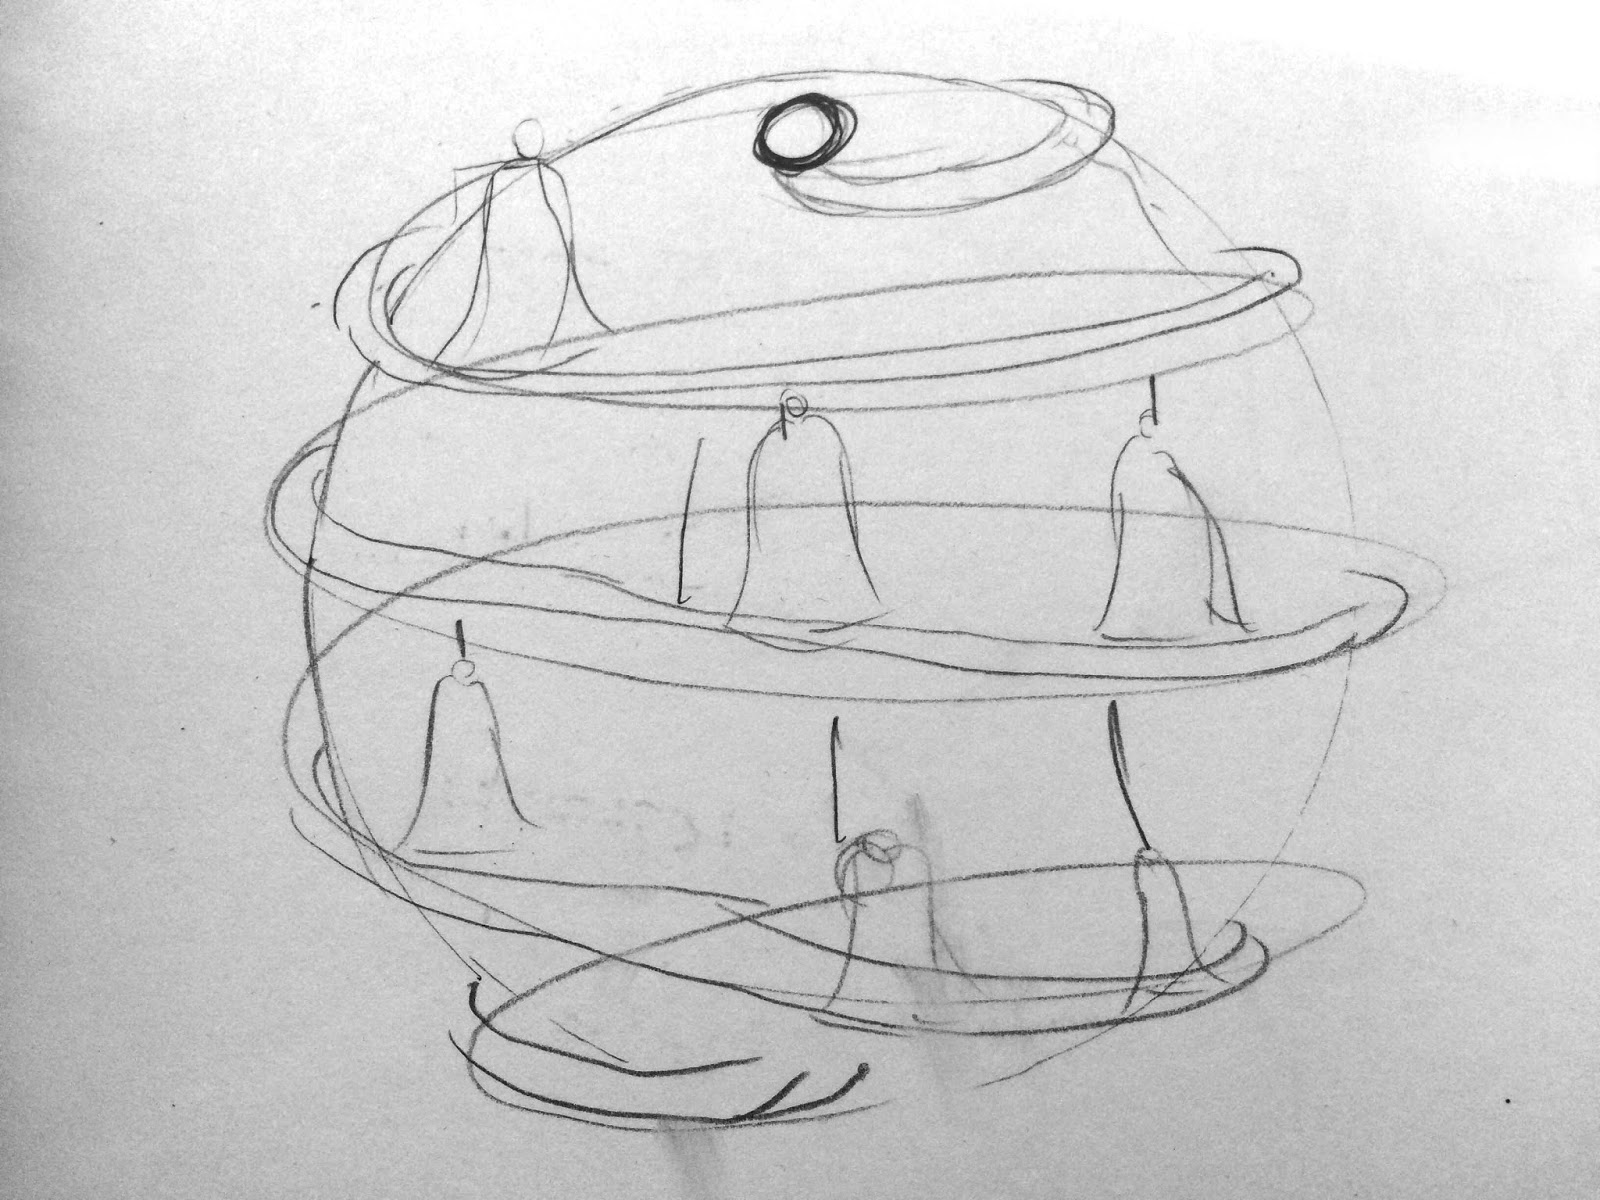
Prepare for crappy sketches....


I've been thinking about a few ideas of a looping track/marble run style system, the ball bearings ring a bell (or bells) as they gain speed down the track. The balls need to be lifted to the top of the track to create this everlasting loop. Looping and pointless looping has been been a theme in a few of my pinball sketches so really interested in building that into this project.


I'm working towards having a central tower with a ball lifter, then an outer track with multiple bells. The front face will be carved to look like St Mary Redcliffe's bell tower - possible this carving could be used to create a limited run of woodcut prints.

The lift

So how to lift the balls? I have a couple of options which I can also power by a motor. The first evident in my initial sketches is a wheel. The wheel would be geared and with holes in it's face, as the wheel turns it pick up balls at the bottom and lifts them to the top to be released by gravity.

I'm running out of time to experiment and prototyping gears doesn't sound fun without a laser-cutter and only basic hand tools, so online research led me to a collection of interesting marble runs and eventually to the marble pump which I have prototyped:


The ball lifter is a really rough version of the talented Matthias Wandel's Marble Pump. He has a tutorial how to build his much better version.

Also a test with a wire track and bell:


Power

Obviously I'm not going to sit in the cabin at the bridge control room during the exhibition so need to power the crank via a motor.

I've been looking at a 12v Motor from Hobbytronics. I'd also need the Universal Mounting Hub.


Lot's more to do, plan to keep blogging my progress, so please check back or if you are in Bristol look out for the project at the start of August.

Friday, 12 June 2015

The Last Music Video

Waaaaay back in 2012, I filmed this music video for The Last - it seems like a lifetime ago now!


I wanted to speak a bit about the process I took when producing the music video, why it was so delayed... and how that's not necessarily a bad thing.

Keep in mind it's a no budget production, done as a favour to friends.

Filming
I spent two evenings filming The Last at guitarist Martin's project house in Nesting, Shetland. He lives just down the road and is planning to completely renovate this amazing old house. However in it's state it made a perfect location for filming a music video.

Boom! Shake The Room: Check out that floorboard bend!

We had a very rough plan to make transitions through the house, telling this story of the song and singer Birdy's ongoing heartache and love of music. I did some informal planning with the band to create more of a story line with other people involved, but eventually came to this simplified idea of a following Birdy through the house.

I kinda wanted it to be a nod to elements in Idlewild's Modern Way of Letting Go video (although I just noticed there are two versions of the video, the one linked is the one I'm talking about, can't find it on YouTube). But obviously on a much smaller budget and production value.


Filming went well but through various reasons I delayed the editing process.

Delay
During and after filming it was an incredibly busy time at my day job at Shetland Arts: Mareel, the music, cinema and education venue was just about to open it's doors. After this, things didn't get any quieter with work. And in 2013 I made a huge change in my life by moving from Shetland to Bristol to study. So along with this being a bit of a favour for friends (I got paid by means of an electric drum kit, which is pretty cool) - it wasn't very high on my list of things to do.

The second reason was I knew there was lots of footage to sort through, synch up to the audio and fine tune. Including a particularly tricky transition, which was quite honestly filmed badly by myself. I also knew I didn't have much in the way of a backup so this transition needed to be in the final for it to make sense.

Eventually I forget about this project, until a few weeks ago when I came by the original footage on some hard drives while clearing up. Checking the created on date, I felt pretty shameful.


So I set myself a challenge, I had a few days and nights free to focus on getting the video edited.

Edit
I had started a rough edit back in 2012 using After Effects, but it was getting very messy, really not the right editing program for this. So I fired up Premiere for the first time in a few months and got to work on selecting the shots. I really didn't know the true power of Premiere to make the editing process easier.

Tutorial: Managing And Viewing Assets In The Project Panel on Adobe TV

I really enjoyed preparing and processing the shots, it was actually a joy to work with.

Synching up all these different shots to the audio was something I was quite honestly dreading. But I thought; "there must be a way to synch audio to video" and of course there is, I found out about the amazing multi-camera feature which saved me hours, I mean probably days saved really.

Tutorial: I usually use lynda.com tutorials. Check out the multi-camera lynda.com tutorial on Adobe TV. 

We filmed all shots with the audio playing in the background as reference, so I can us the multi-camera to automatically align the audio to all of the shots at once. This is amazing!

Now when editing I had the feature to play through the video and to simply select what camera 'angle' I wanted to use. The multi-cam feature records the camera selection as you play through, in the same way I imagine as controlling live footage for TV or that scene in Wayne's World...

Wayne's World: camera 1, camera 2, camera 1, camera 2...

Is it too geeky to admit that I'm excited by these software features?

Time to wipe
Now there's just that tricky transition where the camera goes behind Birdy's head, the idea being that the band disappear during the transition. This technique is called a body wipe, you'll see it loads in things like CSI. It doesn't have to be a person, in My Name is Earl they do something similar by panning the camera in and out of shadows etc.

Rough edit: Harsh zoom and shift making it quite fake looking
Fine tune: More gradual, lined up and blended in middle
It did take a while to line this shot up to get it just about right without looking to faked, but getting a really rough version done quickly then going back to fine tune was certainly the way to do it.

I could have spent hours more, but I always kept in mind the original footage was filmed with a moving/walking camera, handheld with no stedicam. It was never going to be perfectly cinematic!

Overall... 
The shots and colours aren't perfect, but think it captures something unique, given my basic setup and budget I think it's ok. A rough and ready music video, which does relate to my way of working and style. I know there are always lessons to learn and improvements to make, but for a one man filming and editing team, it could be worse!

Am I being hard on myself for the amount of time it took to edit? In reality sometimes it's really not a bad thing to sit on projects for a while. When there is always going to be a pressure from clients to finish jobs, as I work on my own to very small budgets, things just have to wait. Our culture is that of "I want this now/yesterday" instead of allowing time and space.

Through revisiting this project I realise how this period of time can breathe new life into a project, a more relaxed attitude to projects has inspired motivation and creativity.

Something you might not know: I also designed and screenprinted the EP artwork.

About The Last
Check out the last on Facebook
Buy Halos and Heartaches EP on itunes (£2.49)

Thursday, 21 May 2015

Professional Practice Relationship

Why work experience?

During the professional practice module I decided it was best to use my time working alongside commercial companies in order to place myself into the pinball world, see current developments and make valuable contacts for moving on with my project over the next year.

I negotiated two very different types of commercial work experience with pinball companies in the UK.
  1. MyPinballs focus on custom software, modifications and restorations. See here
  2. Heighway Pinball are the UKs first mass manufacturer of pinball machines. See here
The direct outcomes to the work experience include a documentation of my time on each placement and of course valuable experience I could not have got any other way.

My activities and time during professional practice has guided my work and helped me develop my path as a professional artist. I've created a body of work which I see as observational and reflective of this module.

I believe my proposal and planning of the work experience led to a successful and concise professional practice module.

How it relates to my work?

I had previously spent a considerable amount of time focusing on playing pinball to understand the game better, during this module my time has been mostly spent focusing on the electronic and mechanical parts as well as software and tools required in order to learn how a pinball machine is actually built and maintained.

Work experience gave me some hand on time with pinball specific electronics, mechanisms, tools and equipment I would not have been able to afford to buy or learn on my own.

I see my practice exploring how the physical and digital coming together, but how that's done needs to make sense. That's what I'm currently working out. Professional experience has given me some much needed boundaries to that huge topic. I feel like I'm on the right track.

My main interest in pinball lies in the physicality of the game in it's simplest form. How it works almost seamlessly alongside digital technology, adds a layer to the game which fits into my research and interests as an artist.

This module I've been playing with some of these ideas.

My aspiration going into this module was to create a working pinball machine or prototype pinball game in this semester. This has not happened, here's why:

Learning curve
See blog here

During my learning curve on work experience I started to fully understand just how much of a huge task building a pinball machine really is. I started to worry about not being able to deliver a quality outcome, due to time, skill, money restraints.

I had a bit of a eureka moment when I realised this was not how I see myself working as an artist. It's actually the opposite. Worrying of the outcome instead of enjoying the process of coming up with ideas and making them happen.

This led me to change my approach to how I work on my body of work, to see the final work more as sketches, a testing ground, rather than a fully fledged final piece of work. The idea is to take the pressure off creating work in order to free myself up, have fun and produce.

I have lots of ideas, I'm now learning that I don't need to over develop these to create good work. Sometimes it takes longer to produce a piece, but that doesn't mean I have to make the project more complex and develop to a point I don't enjoy working on it any more.

The parts of a project I most enjoy is first sketching, and that feeling I get when I know I have a good idea, it's exciting picturing the idea in my imagination. The next part is working out how it works, what it is, what materials, where do I source them, how can I do this, testing, prototyping - it's the problem solving part. Then when everything comes together, physically making and/or printing.

Themes

Visualise
See blog and this one

A theme of these works has been to visualise what I original imagine, and translate that to a piece of work. I've really enjoyed this, not over developing ideas past that, and having more realistic expectations on the scope of the work. There's some more ground to be made on this idea.

Observational
See blog and this one

The linking theme between professional practice and research is that the pieces are all observational in some way. They are records of thoughts, topics or moments mostly in the form of sculpture.
Repitition 
See blog and this one


Over and over again. This idea of repetition has cropped up a few times.
Firstly it relates directly to the game of pinball; where you must make repetitive targets to obtain points. The second relates to printmaking; where the process to create a multiple edition is by the repetitive task of printing the same artwork.

What about continuing to working in the pinball industry?

There was also the idea that I would continue working in pinball in some way or another, but during this module and how my path has developed in my personal work, I now want to approach what I am doing as a project during my time on the MA. After which I would plan to go on to work with other types of games. Saying this I don't want to make any solid plans, I quite like how open doors are just now and want to keep a few options for the future.

A catalogue of assemblages

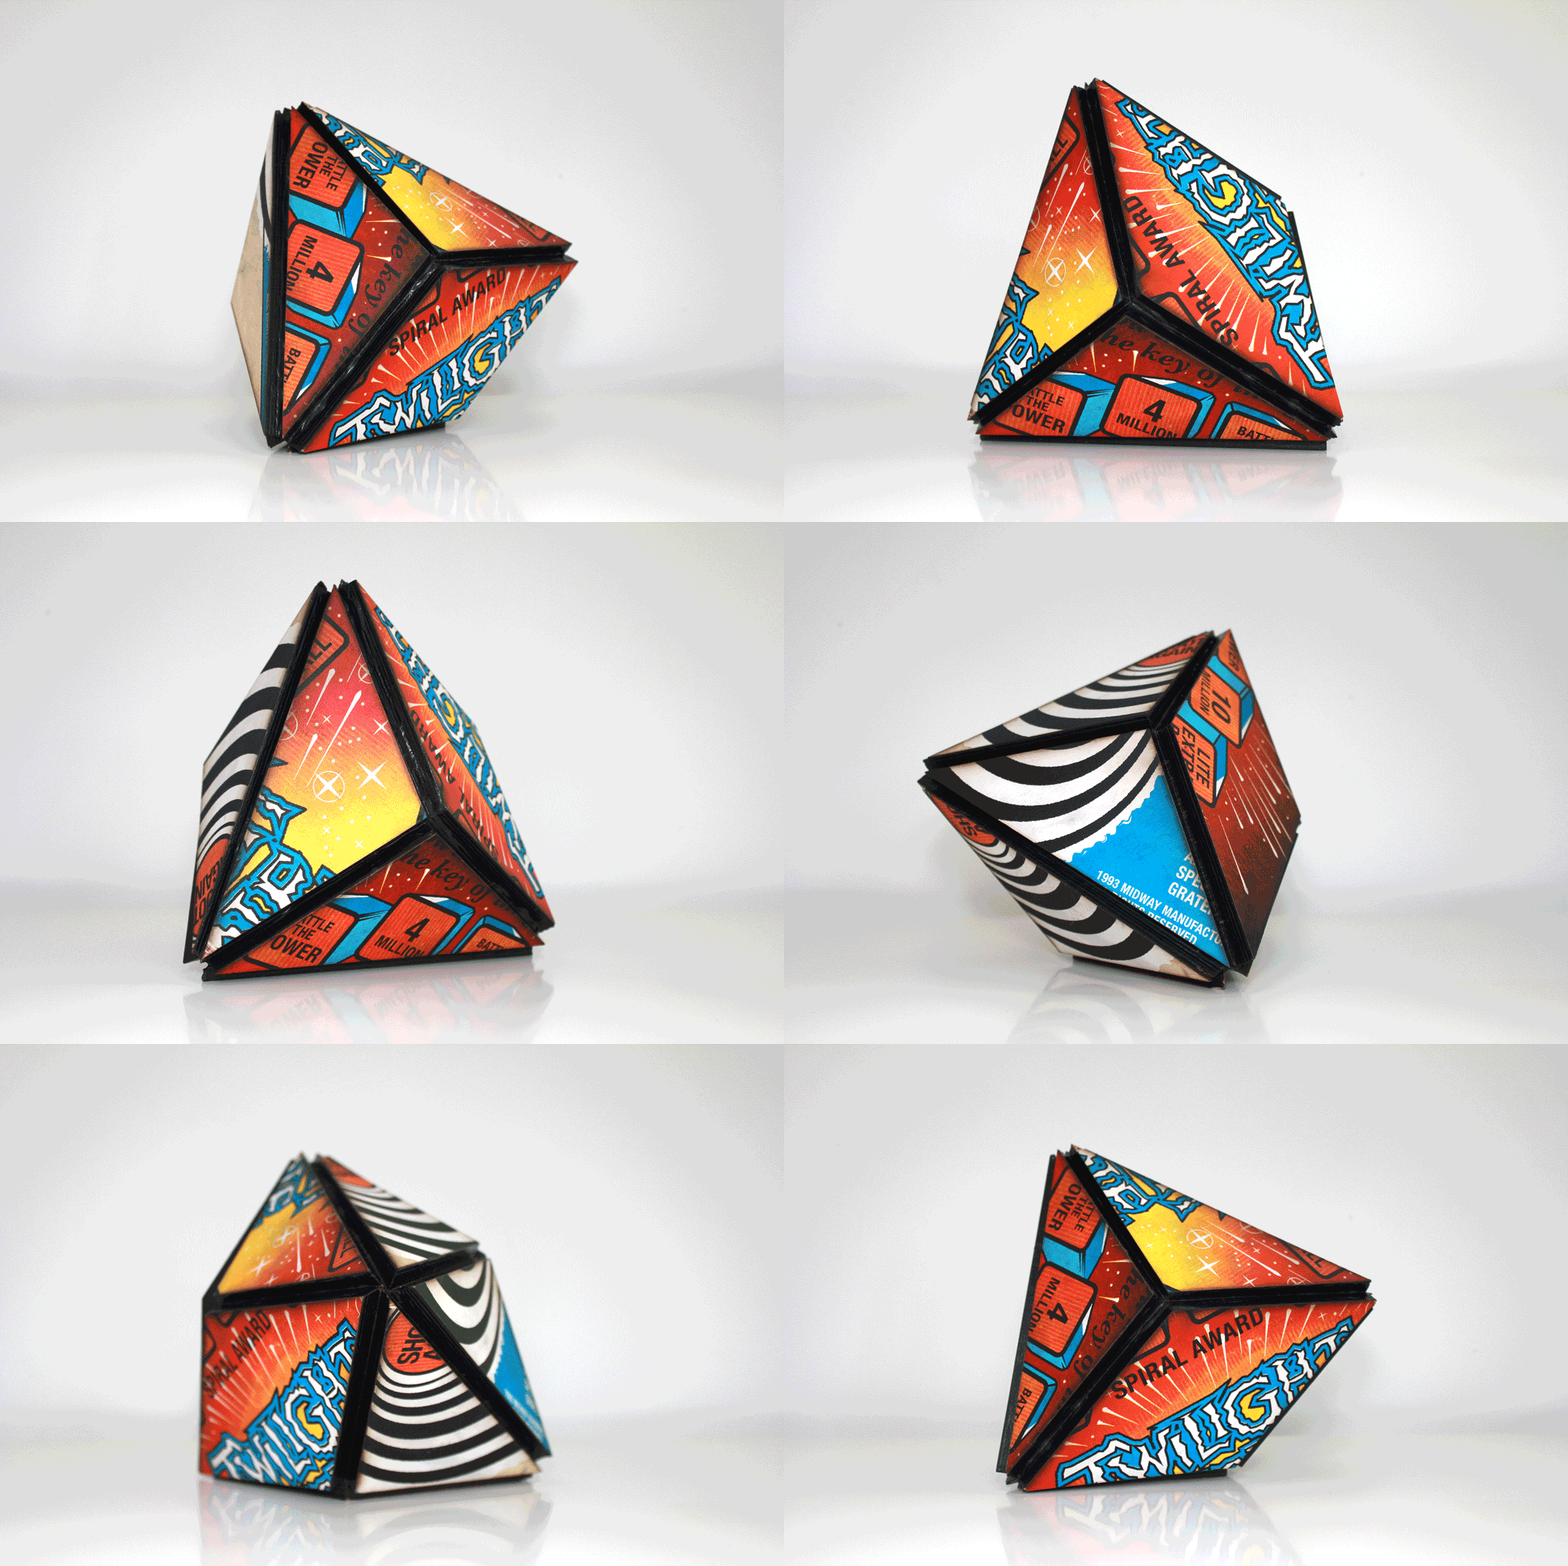
Explorations into assemblage using recreated artwork from top rated pinball machine, The Twilight Zone. The assemblages are to appear to have used and deconstructed the original playfields from the game, in the hope to provoke a reaction and outrage of such an act.

Assemblages are a mixture of pre-planned and freestyle, documenting possible different outcomes.

The outcome for me personally is to explore new ways of creating work.
When I'm more comfortable with the pre-planned route in the most part I want to show differences in restriction in the outcome and processes of creativity:

item 1 - completely free style,
item 2 - mix of planned and freestyle,
and
item 3 - completely planned.

Read previous post including the process of printing and recreating the artwork.

1. Sawn

  • 1.1


  • Process

    Hand sawn - freestyle

2. Triangulate 

  • 2.1

  • 2.2


  • 2.3


  • 2.4

     
  • 2.6

  • 2.7


  •  Process for item 2

Triangulated by colour and converted to vector lines

3. Polyhedron

  • 3.1

  • Process for item 3

Roughly planned pre-laser cut

Reference:
Michael Pecirno  - The Air Above
How to Lasercut Polyhedra